Retro Pi Project
RetroFlag
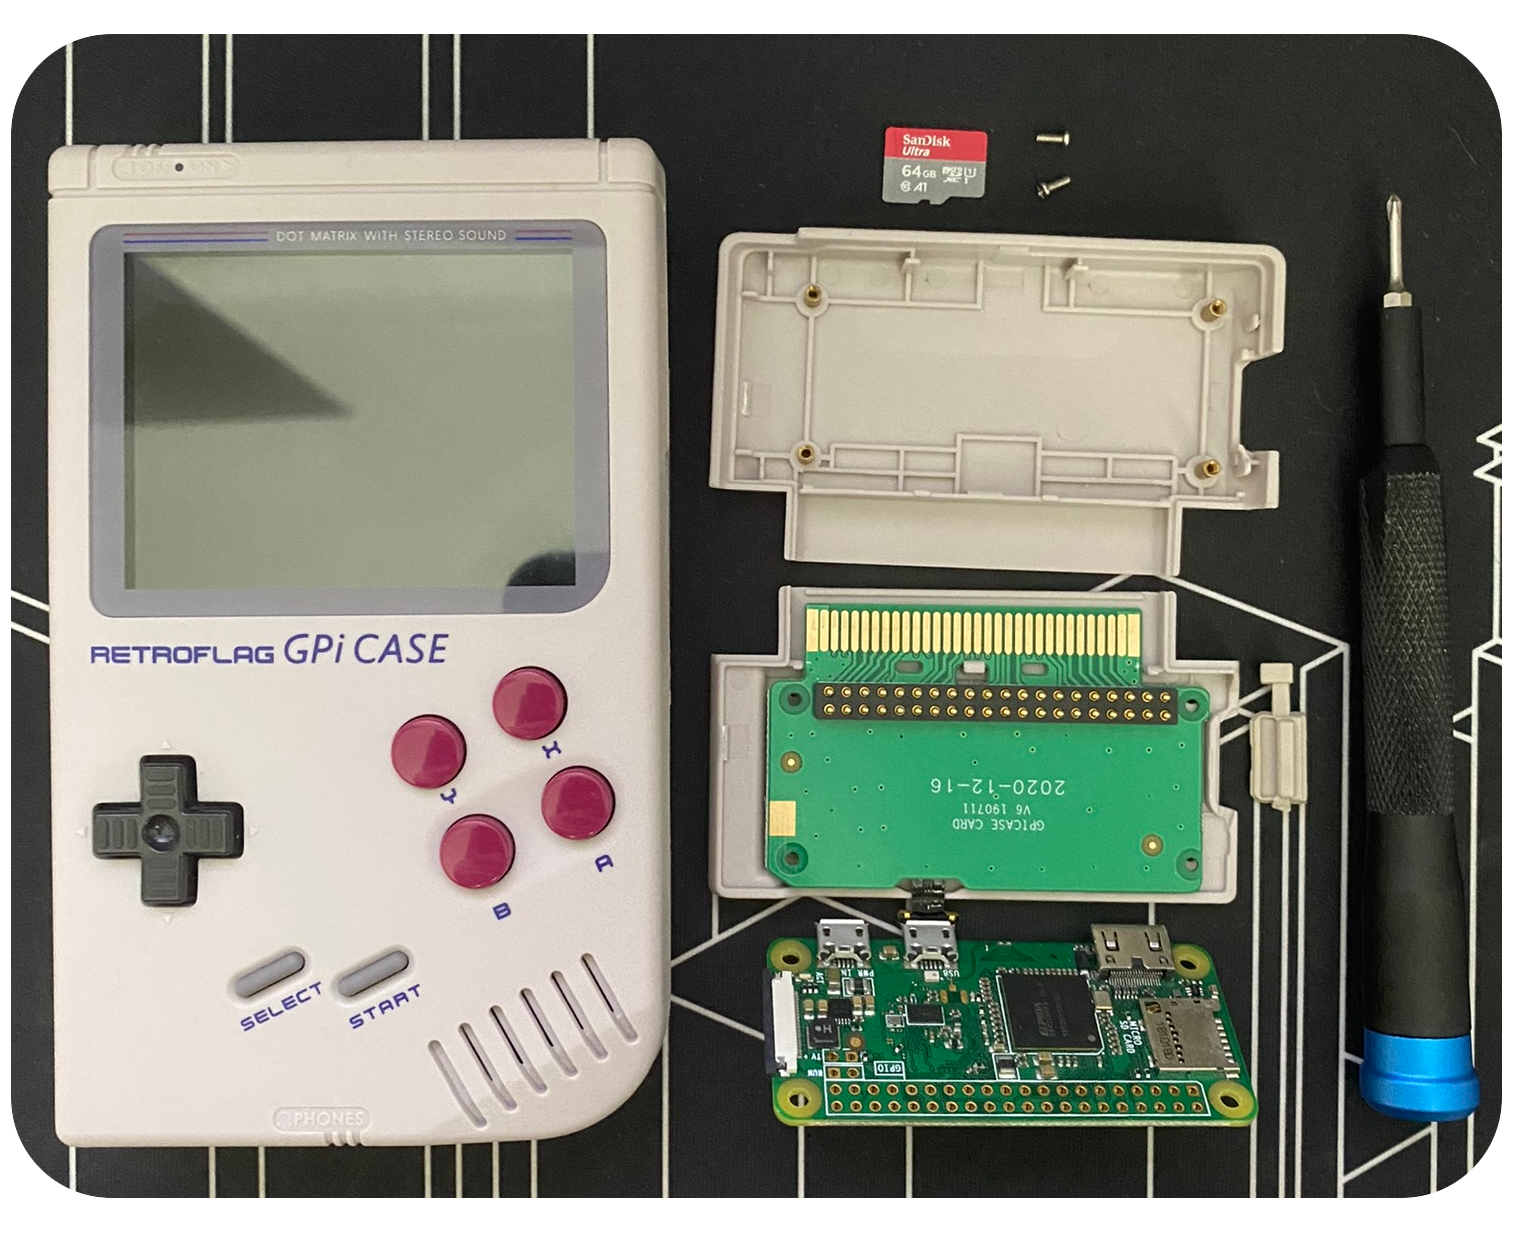
Produces a range of different controllers and shell game consoles that allow for Raspberry Pi computers to be added to create an emulator console using an operating system like RetroPie. In this setup I will be using the:
- Retroflag GPi CASE
- Raspberry Pi Zero W
- SanDisk 32GB SD card
Installation instructions can be found here.
Required Downloads
- Download GPi Case patch here.
- Download GPi Case safe shutdown here.
- Download RetroPie here.
- Download Etcher here.
Setup
- Open Etcher, and flash image to SD card.
- Click on select image, choose Retro Pie image.
- Check the SD card selected is correct.
- Click Flash!
- If Windows prompts with “You need to format the desk…” click cancel.
- In File Explorer go to the SD Card location and drop the file from GPi Case Patch into the folder (same level as the readme file).
- Open the file we just dropped and click install_patch.
- Hit enter once it has completed.
- In the same folder we want to create a .conf file that will allow us to connect to WiFi
- Open a text editor application e.g., notepad++ enter and edit the text file below:
- Change the ssid and psk to match your WiFi settings.
- Name and save the files as ‘wpa_supplicant.conf’ and add it to the SD Card location.
- In the file explorer view option tick file name extension, check the file name and type is correct.
- Open a text editor application e.g., notepad++ enter and edit the text file below:
The Pi Zero will only be able to connect to 2.4GHz network.
1
2
3
4
5
6
7
8
country=US
ctrl_interface=DIR=/var/run/wpa_supplicantGROUP=netdev
update_config=1

network={
ssid="your-wifi-ssid"
psk="your-wifi-password"
}
- In the same folder create a .txt file, delete the name, file type, and replace it with ‘SSH’ (this will enable SSH).
- On File Explorer right-click on the SD card and eject.
- Insert SD card into the Pi Zero and power on the device using the switch at the top (make sure power source is connected).
- Follow the steps on screen to configure the buttons on the GPi Case.
If the button inputs are not detected try holding select+dpad_up or select+dpad_left for 5 seconds.
- On the configuration screen scroll down to show IP Address.
- IP address will be displayed at the top, keep a note of this.
- Open a terminal that allows ssh, we will be sshing to the Pi and installing the safe shutdown script.
ssh pi@192.168.0.xxx(change with Pi’s IP address)- Enter the password
raspberrythis will be the default password. - Run command:
wget -O - "https://raw.githubusercontent.com/RetroFlag/retroflag-picase/master/install_gpi.sh" | sudo bash - It will reboot the Pi Zero
I did encounter a problem with the audio on the GPi Case not working, to fix this do the following:
ssh pi@192.168.0.xxx(change with Pi’s IP address), enter the passwordraspberrythis will be the default password,vi /boot/cmdline.txt, add:snd_bcm2835.enable_hdmi=1 snd_bcm2835.enable_headphones=1 snd_bcm2835.enable_compat_alsa=1, escapewq!, restart the Pi.
Conclusions
This has been a fun project to work on and has given me a portable game console that can emulate many non-demanding games. The Retro Pie emulator works great and has a really clean interface. I would like to build a slightly more powerful version using the Raspberry Pi 5, this would allow to emulate more demanding games and also allow for multiplayer.
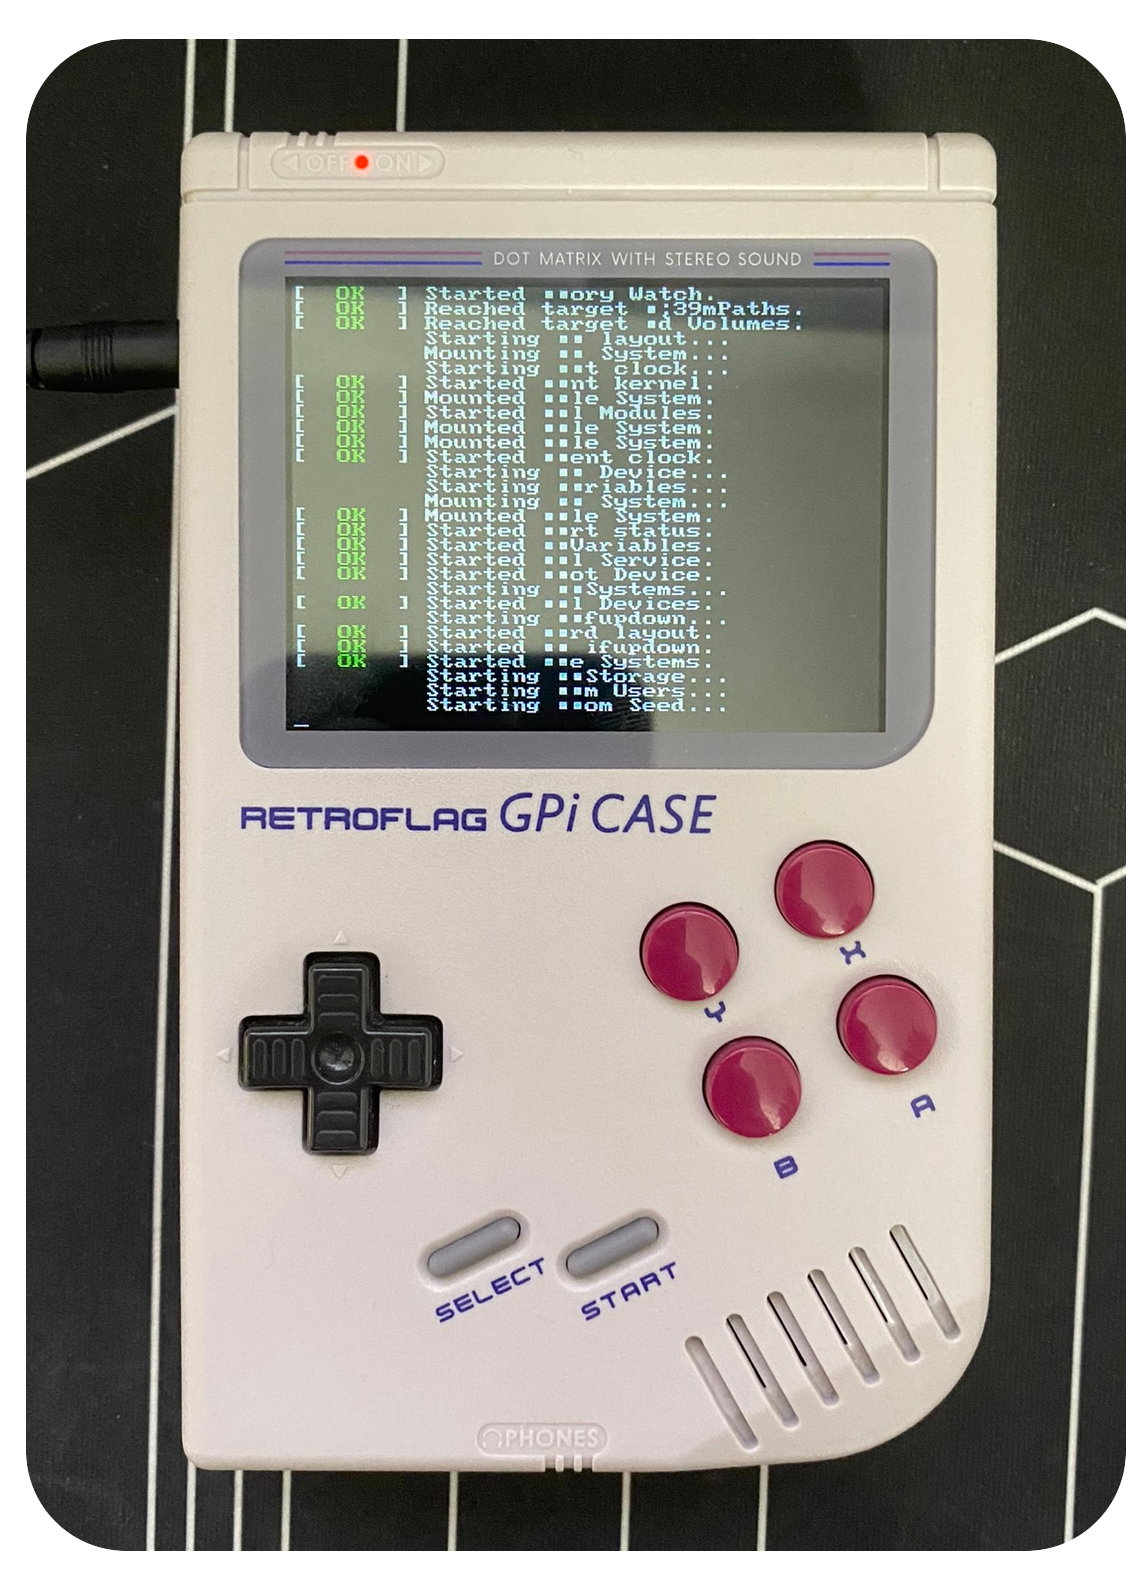
 RetroPi loading the OS from SD card.
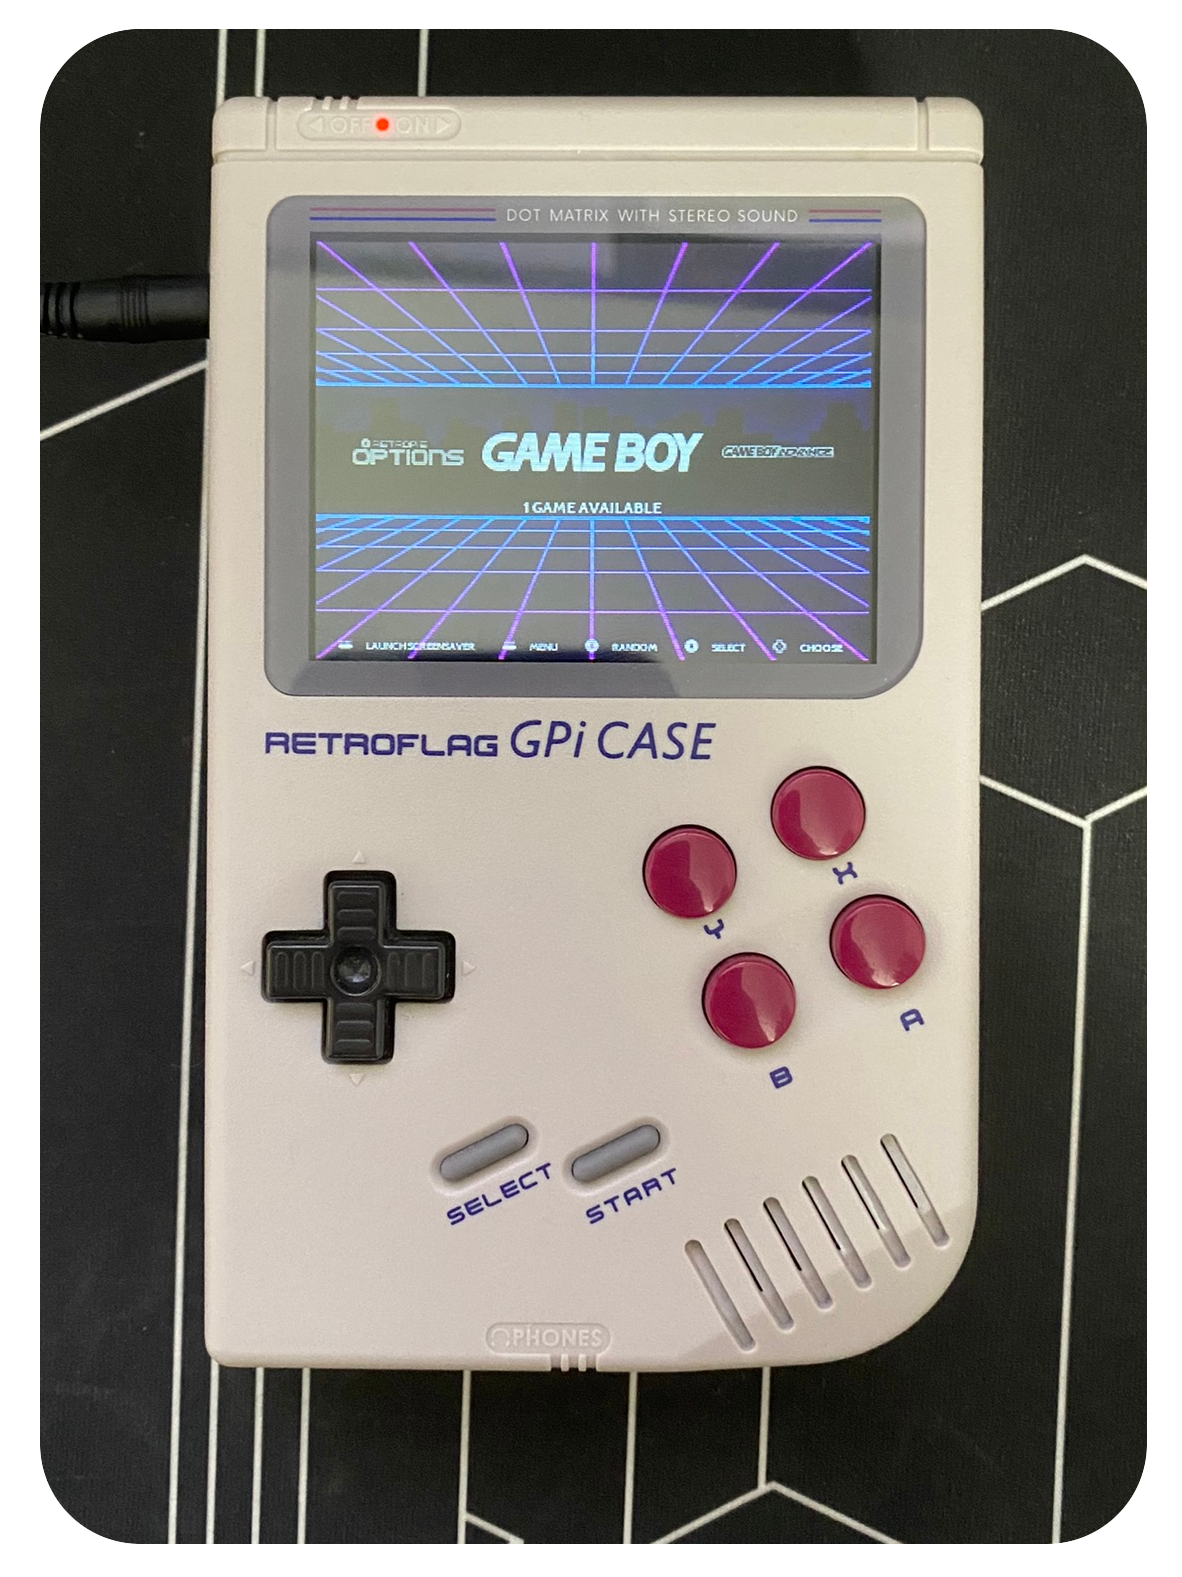
 RetroPi select the emulator you want to play on.
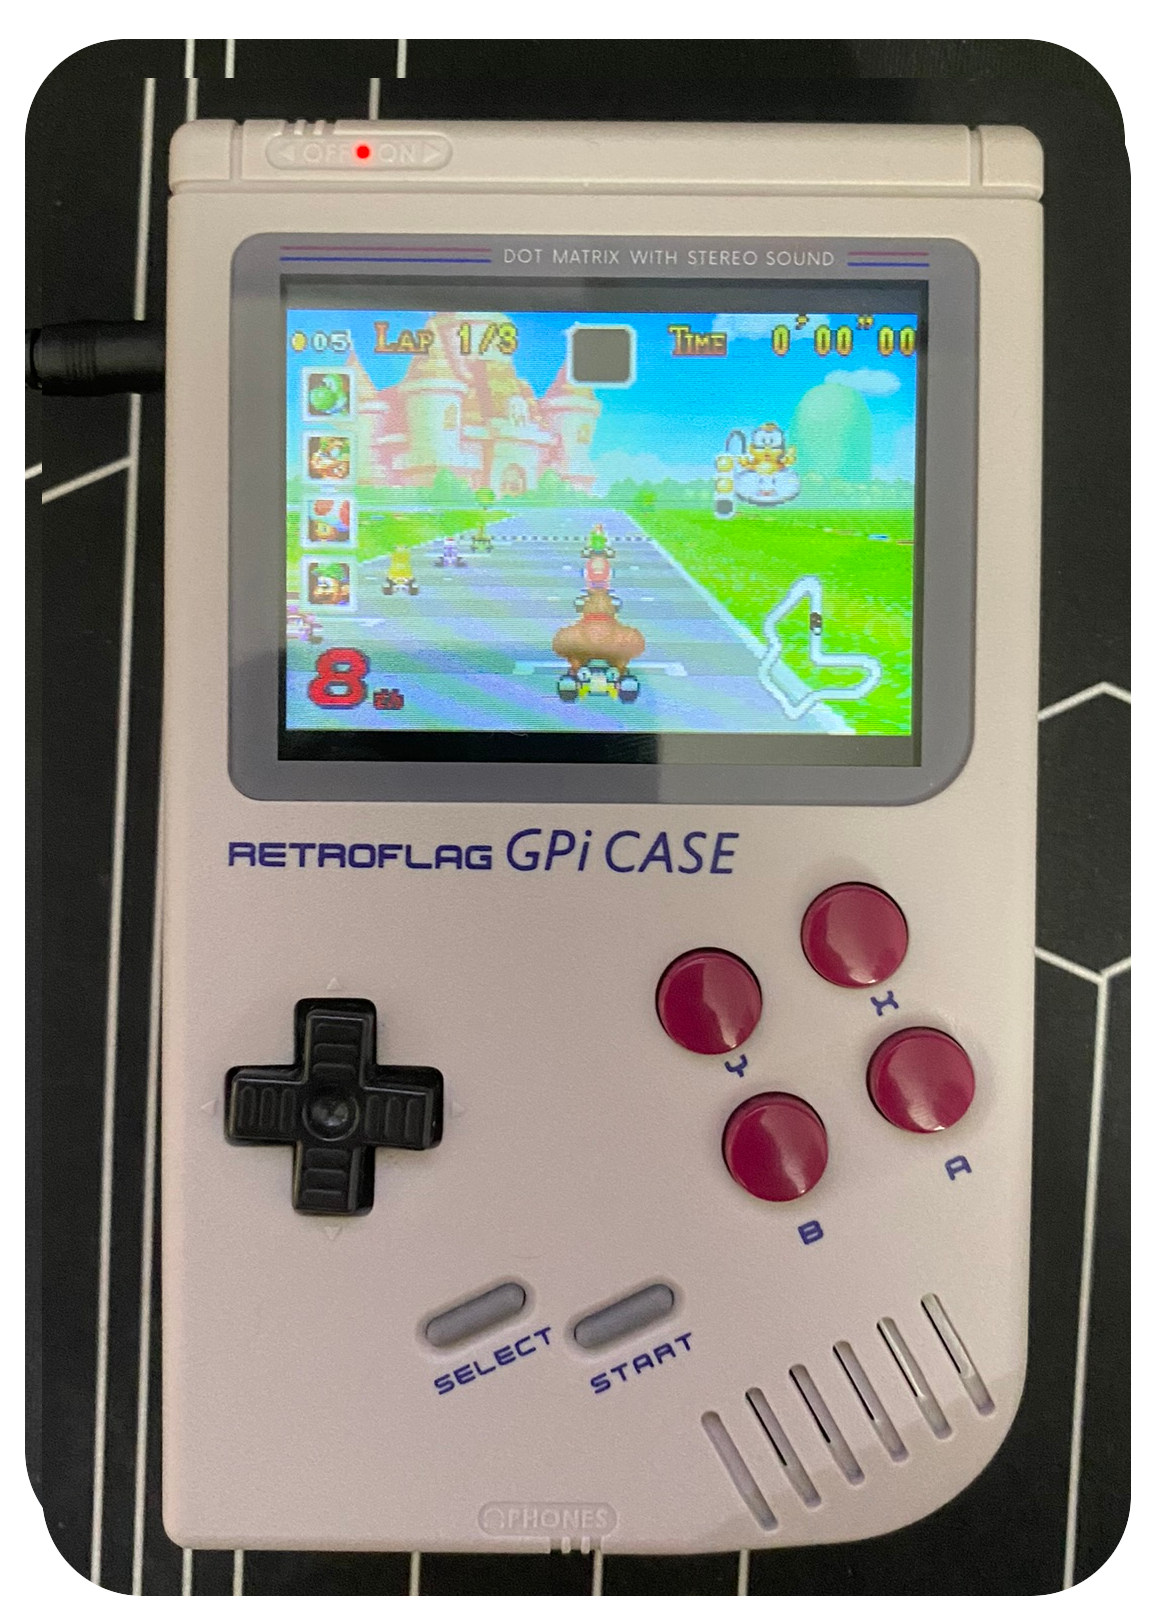
 RetroPi emulating Mario Kart - Super Circuit, GameBoy Advanced.
